Archive for February, 2012|Monthly archive page
Are You Ready For “The Action”?
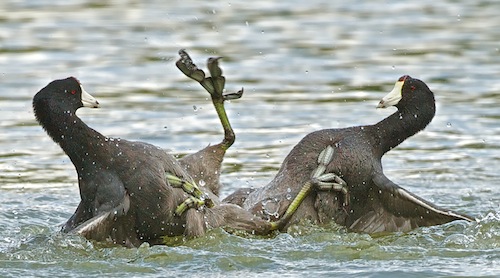
More that once, a simple morning stroll through the local park or afternoon hike has resulted in some “interesting” shots.
I’ve developed the habit to always have my camera set on “action” when just out walking around or doing landscape shoots. Too many times in the past, something very interesting and action oriented would present itself (like a quiet pond of waterfowl breaking out into the “fight” shot above). I’d swing my camera to sudden action, only realize after it was all over that my settings were all wrong. My new habit is to:
- always walk around with my camera set to a basic “action setting”:
- Shutter at 1/1000th or better
- ISO set to “auto”
- Aperture of at least 5.6 with f/8 a better choice
- Exposure compensation balanced for current lighting conditions to grab an acceptable ground/sky combo shot
- when I come upon static or other shots I’d like to make, I adjust to the need – but AWALYS return to my action settings before moving down the road.
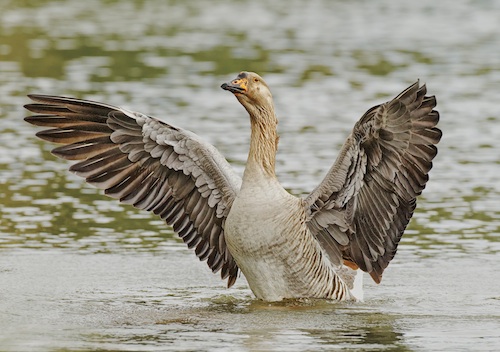
Without following this habit, some of my most treasured shots would have been blurred throw aways. I won’t always get the settings just right, but being prepped for a general action shot gives me a fighting chance.
Stay in focus!
Mark
Always Look Behind You
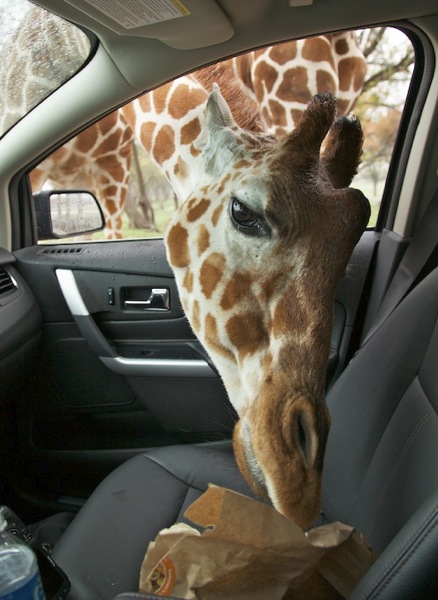
I had the opportunity to visit Fossil Rim Wildlife Park south of Dallas Fort Worth recently (a separate review coming soon) and was shooting out of my driver’s window. I was so focused on what was in front of me, that I neglected to notice the interloper behind me – until he already had my lunch in his mouth!
Now, from a serious point of view – do make sure you “look behind you” when on nature and landscape shoots. Some of the best shots I’ve gotten were 180 degrees opposite of my primary subject that day. For example, the light in a sunrise shoot can be just as dramatic on the landscape behind you as the sunrise itself.
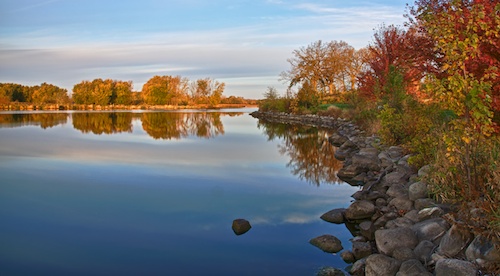
Use your eyes as well as your lens when out in the field. Constantly scan the field around you and keep your eyes sharp for interesting shadows and lighting – not to mention the occasional critter!
Stay in Focus,
Mark
Rule of Curved Thirds
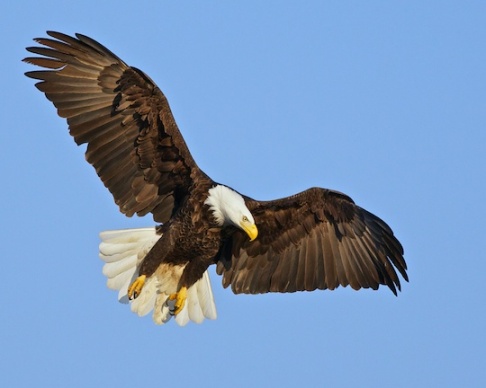
Most everyone has heard about the “rule of thirds” – but let’s try something a little more flexible – how about “curving” the thirds for more creative control?
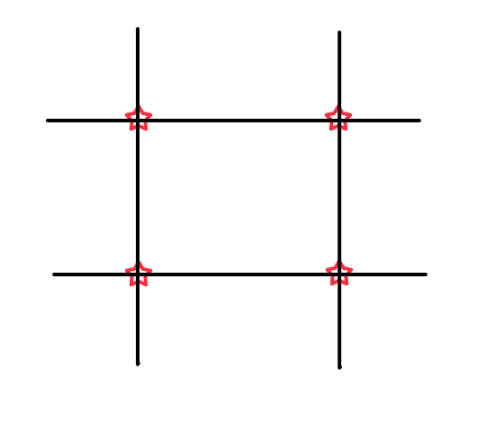
The standard Rule of Thirds divides the image into segments as seen below. The theory is to place the element of focus (head, eye, branch, horizon, etc) so that it lands on one of the intersection points. This provides very good guidance in many cases, but sometimes it just doesn’t work very well.
Consider the image below. The Rule of Thirds might suggest that you place the goose’s head in the upper right quadrant, also giving the goose “room” to look into.
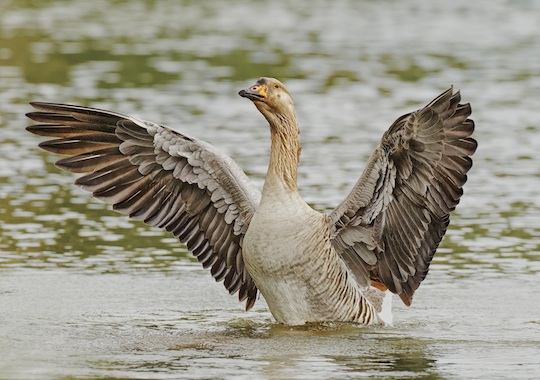
Since I wanted a tight crop and less “river” I placed the goose right in the middle of the frame, not only breaking the rule but doing what some would consider a “rookie” mistake by placing my subject right in the center of the frame.
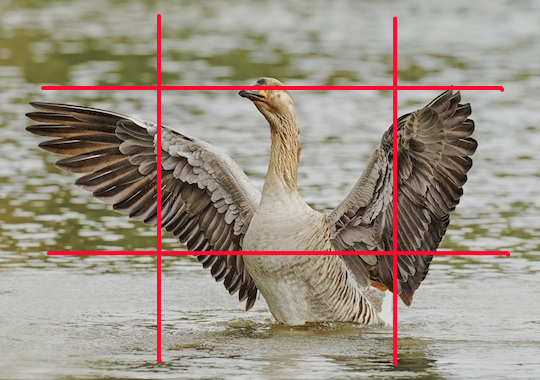
There was a method behind the madness though, I placed the goose along curved lines. Take a look at the illustration below, the curved red line was the point of emphasis that I was aiming for. Borrowing from the Rule of Thirds, I identified a curved shape in my subject (from the left wing, down to the breast and back up to the right wing) and allowed the curve (not a particular point of the subject) to interact with the Rule of Thirds and the intersection points. In addition, one of the traditional points of focus, the goose’s eye, is NOT in the center of the frame, it actually falls along the top grid line.
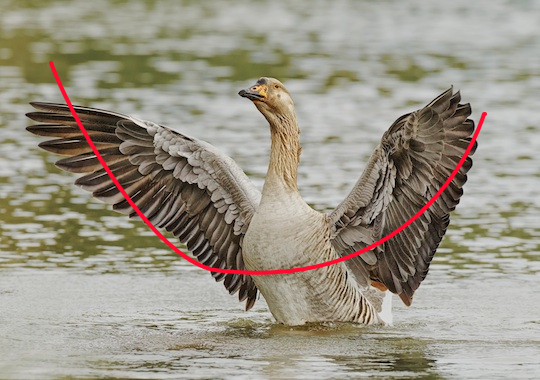
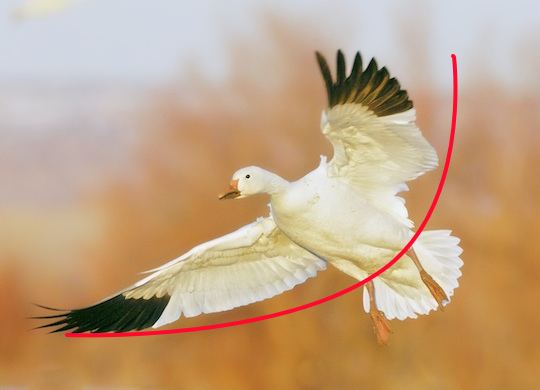
Here’s another example below. The natural focus of this Snow Goose would be the head and eye. Strictly following the rules would have you place the goose’s head in the upper left or upper right intersections. Neither would have worked very well in this case so I used a curve running along the goose’s wings and upper legs. The curve then becomes the item that intersects with the Rule of Thirds – it works for me!
The samples below give a few examples of a curved shape interacting with the grid, give it a try on some of your photos and see what you think.
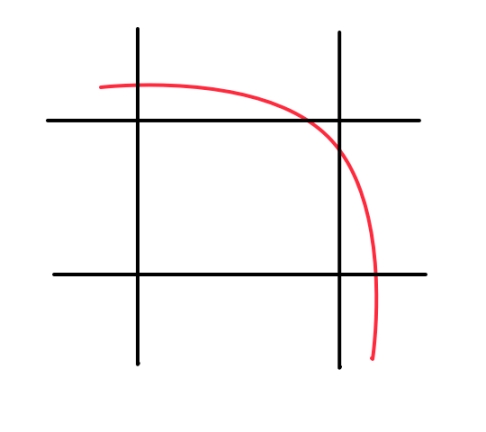
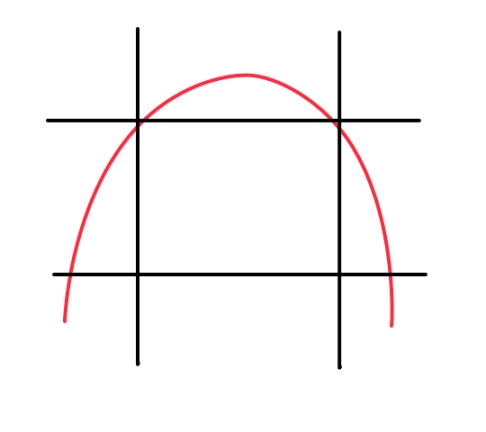
Rules are good, but purposely breaking them can take the shackles off and open up your creativity. Don’t restrict yourself, let your eye naturally find the curves in your subjects – use those curves as your creative element.
Got an opinion on this or have other ideas, leave me a comment or shoot me an email – I’d love to hear what you think!
Stay in focus,
Mark T
 Comments (3)